
Oh, the Rocky Mountains! This is America’s big mountain range that transports you to another planet. When I say America, I don’t just mean the United States. These mountains stretch from New Mexico into the Canadian provinces of British Columbia and Alberta. These mountains are home to a diverse number of unique species like Marmots, Pika, Bighorn Sheep, Moose, and Elk, as well as numerous National Parks including Rocky Mountain National Park, which is what I am going to write about in this post!
The theme of this post is going to be hiking for beginners. Now why beginners? That is because I am a beginner! I only realized how much I liked hiking last summer when I was hiking Cinque Terre in Italy. That sparked my friend I was traveling with and I to plan a trip out to the Rocky Mountains to go hiking. Now I wouldn’t say I am not in shape, because I am quite active and workout, but hiking is its own thing. You can’t just be someone that goes for 2 mile walks around the neighborhood everyday and then just suddenly summit a mountain on a 6 mile trail. There is a big difference between pavement and trails as well as going uphill. That is why I had to train.
In this post I am going to discuss getting ready to hike the Rocky Mountains as a beginner and what you need to do or get to prepared. Then I am going to get into my experience and discuss the trails we did (that are all beginner friendly) and how to choose these hikes for your time in the Rocky Mountains!
Getting Ready to Hike the Rocky Mountains
Now I would really like to give you a timeline of preparing because I think its helpful, but this won’t be the timeline I used, because I saved everything to the last minute, so think of this timeline as learning from my own experience. Here is my timeline of planning a trip to go hiking at Rocky Mountain National Park.
6 months to 10 months Before You Plan to Visit
Book Your Accommodation
Whether it is 6 or 10 months depends on when you are planning to go. If you are visiting in the summer (whether that is May or August), you should be booking in December and January because as soon as stuff opens up, it gets filled for the summer very quickly. The very first thing you want to do when planning this hiking trip is to book your accomodation. We stayed in Estes Park which has a great easy entrance into the park, but you can also stay in Grand Lake on the other side of the park. You can also stay in the park, but those fill up even faster, so you will want to book that even sooner in advance. We opted for staying at the KOA in Estes Park which was an affordable and convenient option. We stayed in camper cabins which are basically just beds, so you would have to provide your own cooler and cooking equipment if you aren’t eating out for food, but I found it to be a good way to experience camping without actually camping. Plus you have a great view of the mountains here.
Think About What You Want to Do
We didn’t actually decide what we were going to do everyday until we got there, but you should think about what things you really want to do ahead of time in case it requires a reservation. For example, the Bear Lake area of Rocky Mountain National Park requires its own reservation separate from the rest of the park and they get booked up quickly so you want to make sure you have some kind of idea of when you would want to do that so you can book it right away. There is also other activities that you may want to start thinking about as well like horse back riding or water and boating activities.
4 Months to 6 Months Before You Plan to Visit
At this point you might want to start looking into getting a National Park pass if you don’t already have one. If you get an annual pass, these are good for a year, so you can wait a few more months if you have plans after this trip that you want the pass for, but if not, it might be good to get it ahead of time to guarantee it comes in time, especially since parks are seeing a shortage in resources. If you don’t plan on going into the park more than once, then it might make sense to just get a day pass. You only need one pass per group. Someone will have to get it in their name, but the rest of the car can get in on this pass when entering the park.
If you plan to visit during the summer, then at this point reservations to visit the park should start to open up. You will want to reserve an entry time for each time you plan to visit the park. You will also need to book an additional entry time to Bear Lake Corridor for each day you plan to spend in the Bear Lake area. Each reservation only costs you a couple dollars, so we ended up just getting an early morning reservation to both the park and the Bear Lake area for each day we were planning to be there since we didn’t have a plan for which specific hikes we were going to do yet and wanted to have our options open. This is a good idea if you are more of a go with the flow kind of person like us. Its also helpful because you never know how you will feel each day so it is good to have options anyway.
Purchase Your Hiking Shoes
If you don’t already own hiking shoes, then this is the time you should buy a pair so you have time to break them in and train in them. I waited until about 2 months before my trip to get my hiking shoes and begin training, but I wish I had started these sooner. It also depends on where you live though. Training may be hard if you live somewhere like Minnesota where two-thirds of the year is winter. If this is your situation, then I still recommend looking into hiking shoes even if you can’t wear them outside yet. You can still wear them doing everyday things at home to start breaking them in.
2 Months to 4 Months Before You Visit
Start Training
By this point you should have your hiking shoes. As soon as the weather allows it, you should be out hiking whatever you can! For my training my friend and I visited a different Minnesota State Park together and went hiking. We started with shorter ones and made our way up to some longer hikes. I would recommend trying to make your way up to 6, 8, or even 10 mile hikes if you can. Don’t just do flat trails though. The biggest service you can do yourself is practicing up and down hills because a lot of trails in the Rocky Mountains will have elevation changes. You want to be very comfortable with this ahead of time because you don’t know how you will adjust to the altitude of Rocky Mountain National Park. I ended up doing better in the altitude there than I do here in Minnesota as I rocked going uphill in the park, but not everyone is like that so you want to be prepared.
Start Purchasing Other Gear and Clothing
Now you may want to start thinking about what you need for the trip. I am not just talking about bug spray or sunblock. Those you can get in a shopping haul right before the trip. I am thinking about the fancier things. If you need to get specific clothing for your hiking trip, then you should start looking now, especially if you want to try to get something on clearance. This is also a good time to get other hiking related equipment like poles, crampons, or a hiking backpack if you need them. Its better to start early so that you aren’t scrambling to find certain things at the last minute.
Right Before Your Trip to 2 Months
Continue Hiking
This is the best time to be training. I know last minute training isn’t always the best solution, but I think there is something to be said about going hiking a couple times every week right before your trip, because then you are getting your body used to hiking multiple days in a row, which might be what you are planning to do in the mountains. Also use these hikes to figure out what you are comfortable wearing, what equipment you need, and BREAK IN THOSE SHOES!
Shopping and Packing
Now is the time to stock up on all the essentials. You should get your snacks, bug spray, sun block, or any other things you need to bring on the trip. Here is the packing list we used for our two week trip. Keep in mind we also planned to do laundry at our KOA.
Packing List (click to drop down)
- 6 pairs of pants
- 6ish shirts (mix of long sleeve, short sleeve, tanks)
- 6 pair minimum socks
- Shoes for:
- Hiking
- Walking around town
- Shower
- Driving
- Rain Jacket/Rain gear
- Traction devices (dependent on weather)
- Hiking Jacket/Fleece
- Pajamas
- Hat/Sunglasses
- Shower things (shampoo, conditioner, towel, etc)
- Swimsuit
- Bedding, pillow, blanket (specific to KOA since there is no bedding)
- Things for hair (hair ties, headbands, barrets etc)
- General Toiletries
For Trails:
- Comfortable backpack
- Trail snacks (protein, salt, energy etc)
- Rain gear
- 2 waterbottles
- Toilet paper/tissues
- Sunscreen/Bugspray
- Camera
Misc:
- Chargers (phone, camera, headphones, etc)
- Things to do (books, crafts, journaling etc)
- Health Insurance Card
- Any medications (prescription, allergy, inhalers, sleep, headaches, etc)
- Headphones, camera, phone
Choosing Your Hikes
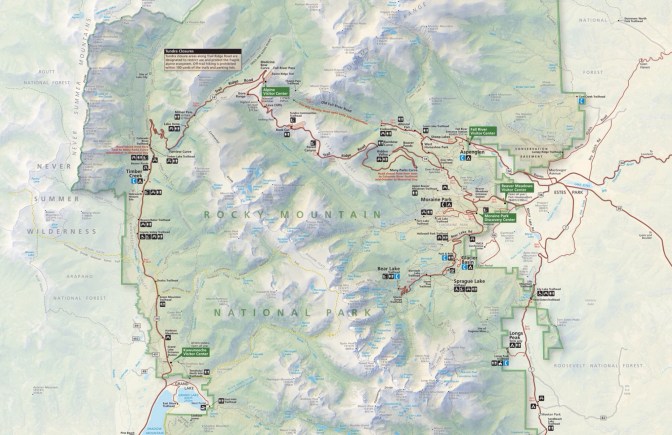
In the section I am essentially going to review each of the hikes we did to help beginners choose their own hikes when at the National Park. At the bottom you will find the order in which we did these hikes. It wasn’t exactly our plan, but a few injuries were incured, so our plans were changed to adapt to our physical condition.
Anyway, first, everyone should start with Bear Lake, because not only is it the most beautiful part of the park, but it is a great hike for gauging how well you will do in the altitude.
If its your first time in Rocky Mountain National Park…
Do Bear Lake
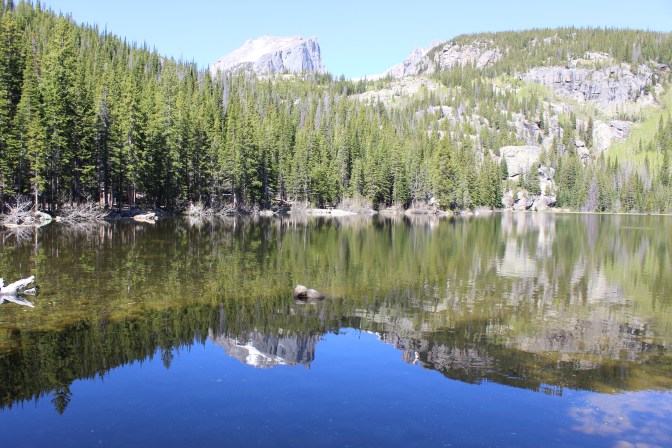
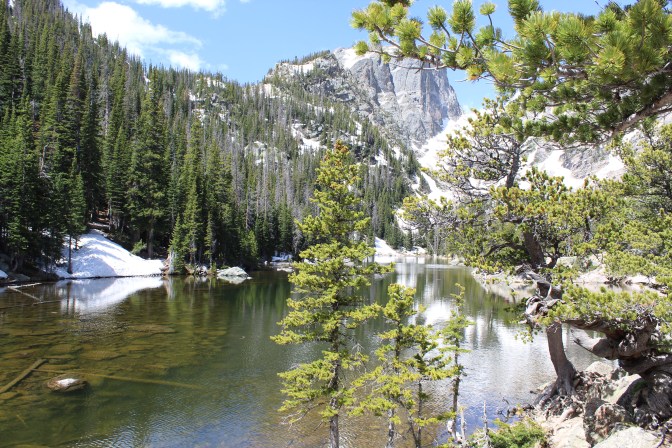
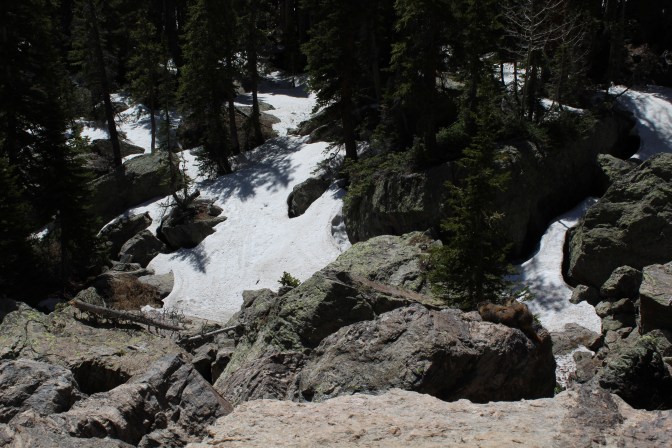
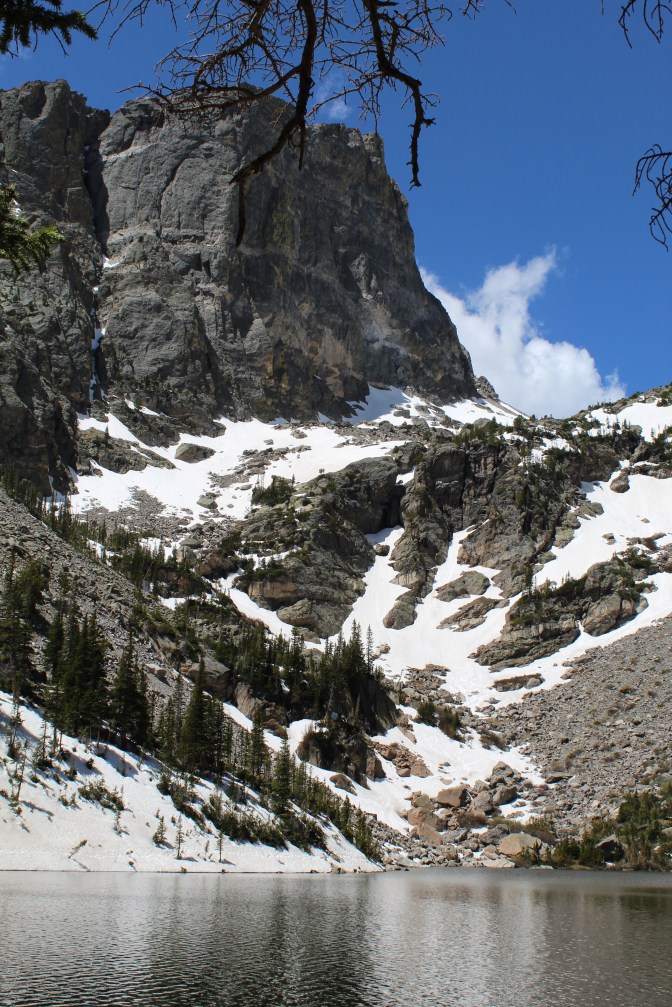
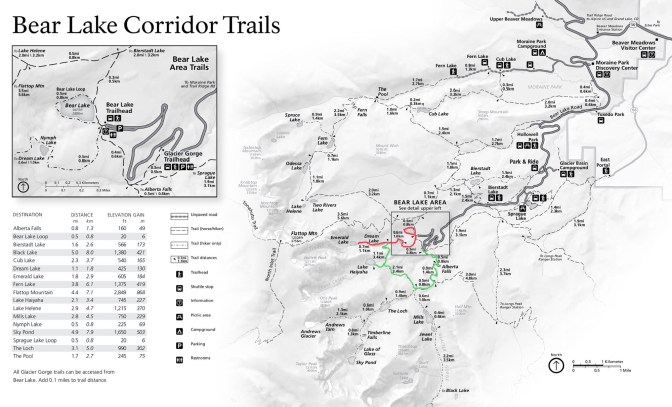
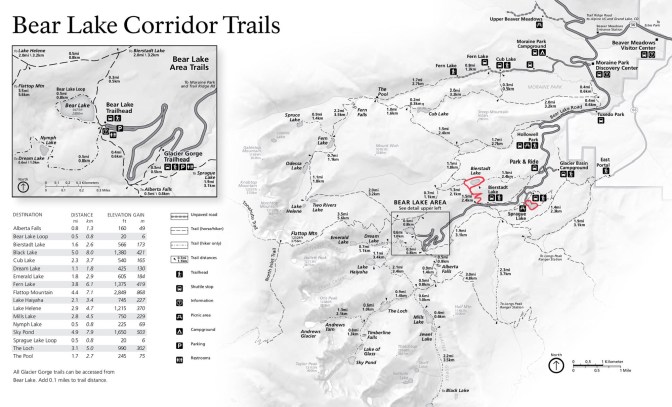
The first hike you should do when visiting Rocky Mountain National Park is Bear Lake. This is the most touristy part of the park and I will get into the logistics in a minute, but first I want to talk about why it should be your first. My friend, Sam, that I was hiking with is an avid hiker. She has done the park many times and she made us start with this trail because it is great for seeing how you will do with the altitude and the elevation changes. Many people get altitude sickness, so that’s why its good to do something a little bit smaller first. This trail is a great test because it starts with a small loop around Bear Lake which feels more like a tourist trail around an attraction then an actual hike. After that you can be done or continue up to Nymph Lake and then up to Dream Lake before you turn around. This is a good test because there is a bit of uphill and elevation changes in a short distance, so if you are feeling sick and need to turn around, you don’t have too far to go and then its mostly downhill. This trail in total is about 4.1 miles.
If you are feeling great like we were and aren’t ready to turn around yet, then you can add on a detour back to the parking lot by going to Lake Haiyaha and Alberta Falls on your way back down. This trail is just in between the trail between Dream Lake and Nymph Lake. It has some pretty gorgeous views of the mountains and the valley so I would highly recommend it if you feel up to it. It does add about 5.1 miles if you exit at a different trailhead and 5.6 if you go all the way back to Bear Lake. In total this means you would be doing 9.2 to 9.7 miles that day, which might be a little much for some people on their first day.
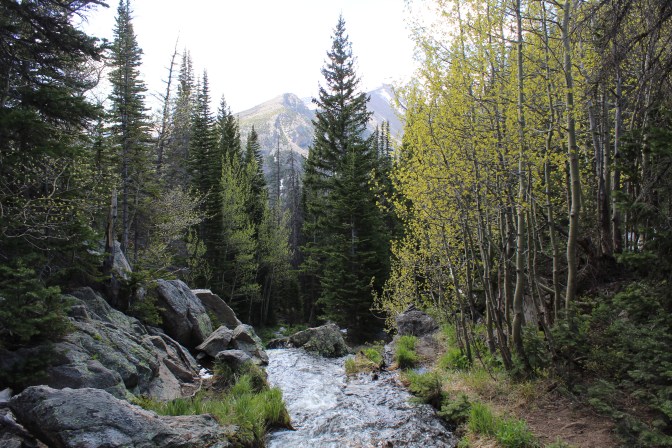
Beyond the technical purposes of the trail, this is still a great first hike because it is a classic. There is a reason it is the most touristy part. Each of the three lakes are unique in their own ways while also guaranteeing crystal blue water against the mountain back drop. You don’t know what else you might see along the way. As the summer comes around and the snow melts, little cricks run down the mountain sides. We also got lucky with a marmot sighting, which is odd since they usually like the tundra. This hike will give you the true Rocky Mountain experience, so if you can only choose one, then this is the one to choose.
Now the logistics. There is a park and ride, which you most likely will end up doing unless you sign up for the first reservation time in the day and get there right away. We parked at the park and ride which comes a little before the Bierstadt Lake Trailhead. There will be signs letting your know if parking is full at Bear Lake and that you need to park at the park and ride. There then is a shuttle that seems to be coming and going every minute (not actually though). It is super easy to get on. I just will not recommend it to anyone who gets severely motion sick as the shuttle will be packed and you won’t always have a spot to sit. Its not long of a drive though. Maybe 15 minutes on the way to Bear Lake and less than that on the way back since it is downhill. On the way the shuttle stops at Bierstadt Lake and Glacier Gorge Trailhead, which is where you will most likely come out if you do add the trail to Lake Haiyaha and Alberta Falls. I promise it’s not as bad as it sounds. The shuttle is actually very convenient and makes parking so much easier!
If you want long and flat…
Do Lulu City
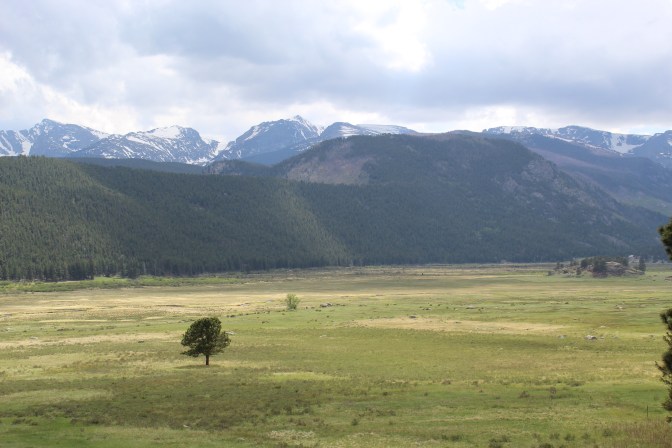
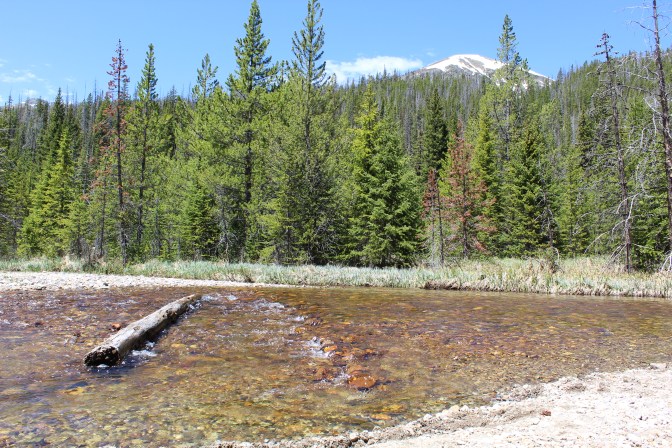
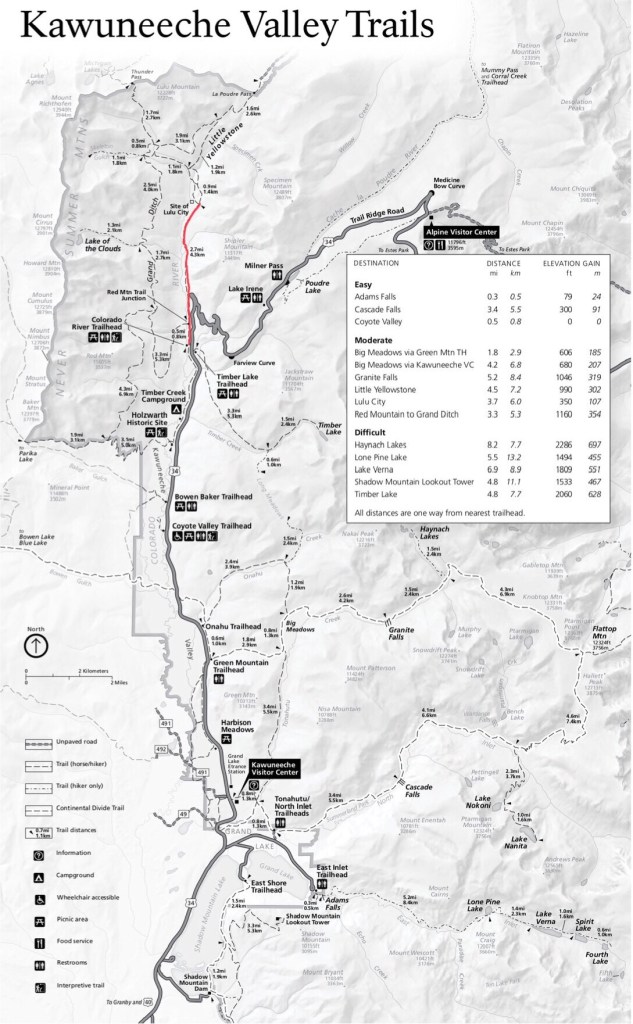
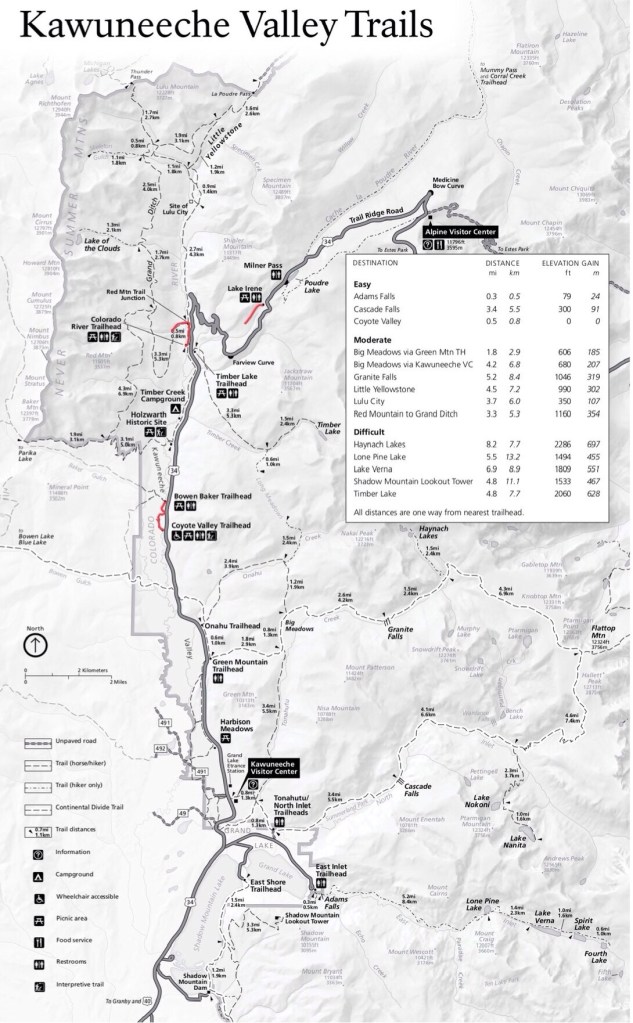
Lulu City is a completely different vibe from Bear Lake. It is in the Kawuneeche Valley on the opposite side of the park. This area is a bit more flat and is known for the Colorado River which runs through it. The trail won’t feel so much like you are hiking in the mountains. To me if felt a bit more like hiking back home in Minnesota. The first part of the trail is really flat, then it eventually gets a bit more hillier, but nothing like any of the other trails we did.
I felt really drawn to this trail mostly for its significance. It goes out to where the old mining town of Lulu City was. There aren’t any remains, but you will see some old log cabins along the way and maybe even some boarded up mines if you are lucky. The city was only inhabited for about 5 years before it was abandoned in the late 1800s which is why near to nothing remains. I would have loved to see an old mining town, but I think it is still really cool.
The hike is in total 7.1 miles. You begin at the Colorado River Trailhead and from here it is about 3.5 miles and then you have to turn around and go back the way you came. You won’t find many hikers on this trail, which I think is what makes it so nice. We sat next to the river at the end of the trail for a while just enjoying the peaceful quietness of the mountains. I would consider this trail to be a hidden gem. It is not as spectacular as some of the other hikes, but its quietness gives it a lovely ambience.
If you want to summit a mountain…
Do Deer Mountain
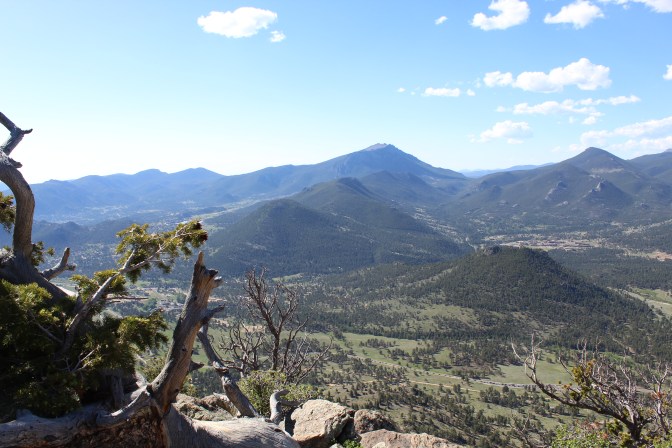
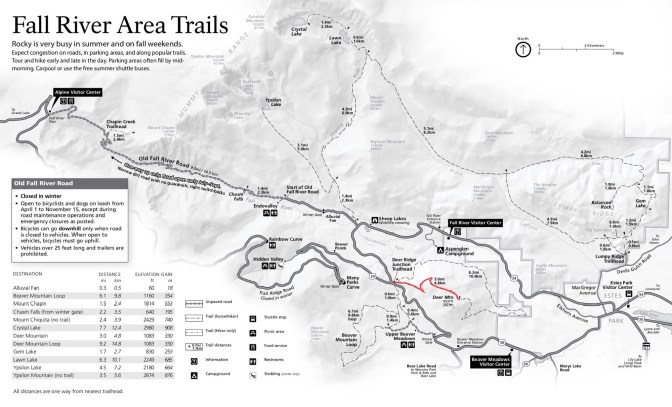
This is the hike we did on our very last day because we wanted to summit a mountain as our last hike. This is an easy first summit. It was in no way a completely easy hike, but knowing it was only 3 miles up and then you got to turn around definitely helped. Many other summits are much longer than this with also more difficult trail conditions. This trail was pretty much just switch backs until you got close to the top. Then it was pretty flat before you take the final steps up to the very top.
The view from the top is amazing. I have never felt as accomplished as I did when I got to the top of this mountain and saw the park around me. It honestly made all the hard work (not just up the mountain, but also the training) worth it. If you don’t get around to this hike, that is ok, because of all these hikes I am suggesting have equally as beautiful views, but this trail will give you that real sense of accomplishment.
In total this trail is 6 miles in total. You begin at the Deer Ridge Junction Trailhead. Keep in mind that unlike the other trailheads, this one does not have a toilet. Parking can also get quite packed as this trail gets busy, so try to get here as early as possible for your hike. We were there by 7 am and at that point we were still lucky to get a parking sport.
If you want to challenge yourself for a good view…
Do Cub and Fern Lake
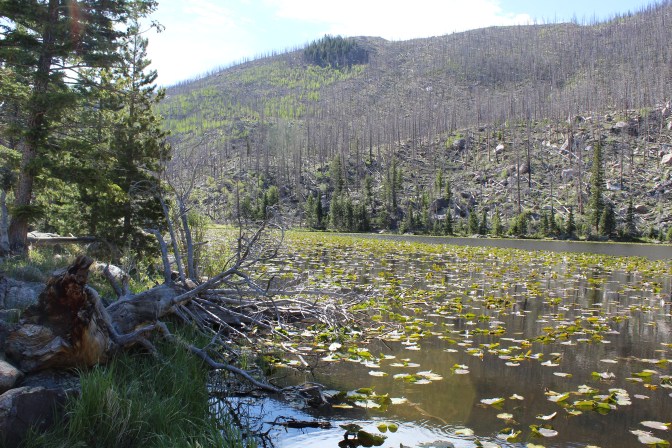
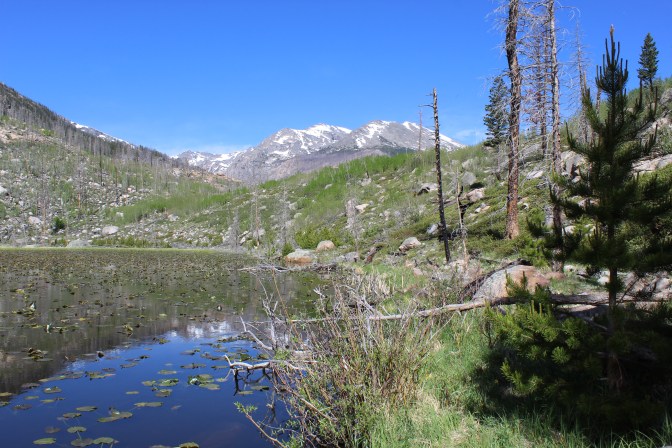
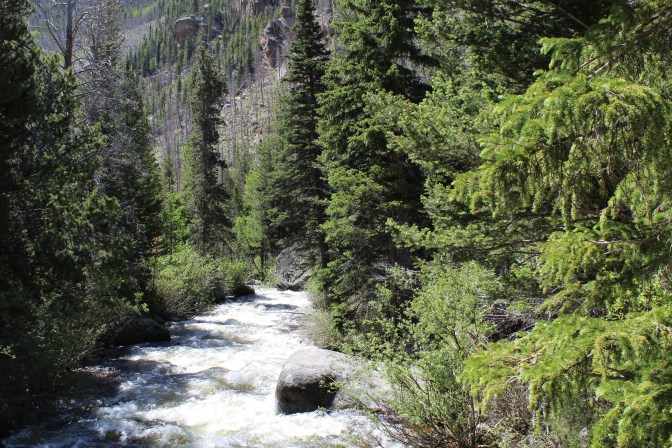
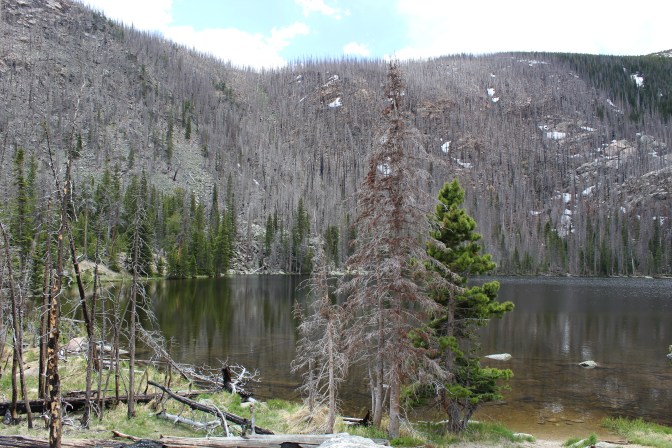
This was my absolute favorite hike that we did in the park. I don’t think my pictures even do it justice, because I didn’t even get pictures of the best views. I thought this was the most scenic out of all our hikes and it also happened to be one of the quietest. The only downside to this hike is that is can be long and hard.
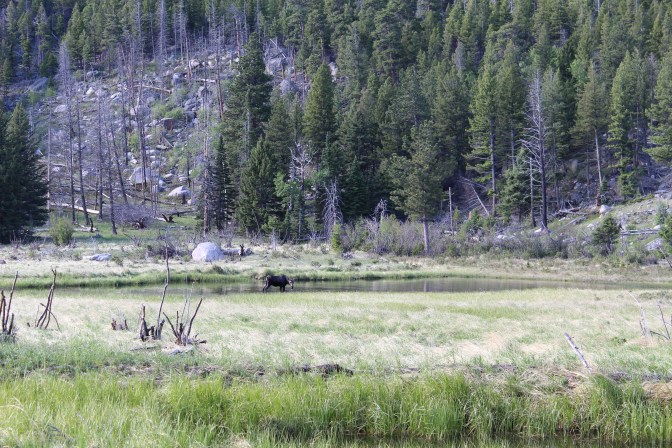
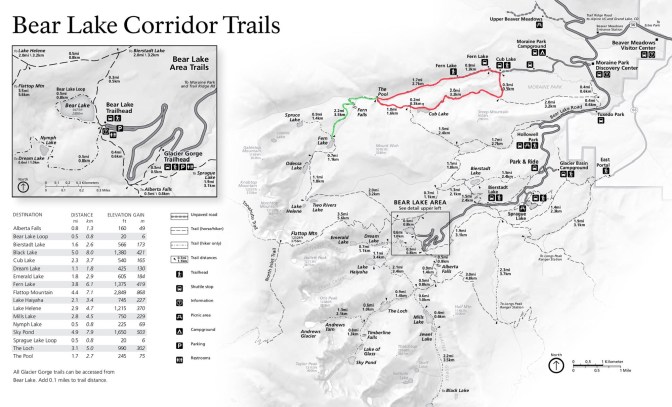
If you aren’t quite ready for a big challenge then you can do just the Cub Lake trail which is the red loop starting and ending at Cub Lake. This loop is 6 miles and while it does have some uphill, its not too unbearable. If you just do this loop you will start through some meadows with some surrounding ponds where we happened to see a moose and then after a couple of miles you will end up at Cub Lake. Its a pretty small lake covered with lily pads. We stopped here for a bit and hung out on a big rock, where I ended up taking a nap. Once you continue on you will get to The Pool where you will then either decide to continue the loop back to the parking lot or head up to Fern Lake. Fern Lake adds on 2.2 miles uphill and 2.2 miles downhill. That will make your total hike 10.4 miles, but I promise its worth it. This was the hardest hike we did, which is why I referred to it as a challenge. It is also the most beautiful. On the way to Fern Lake you will also see Fern Falls, which I thought was the prettiest of the waterfalls I saw in the park.
You do need to do what you are comfortable with though. If you are feeling tired at The Pool then continue the loop back to the parking lot as well as if you have balance issues or shoes lacking grip. The path up to Fern Lake is basically dry gravel and we both slipped multiple times and I even sprained my ankle. Its always important to put safety first when hiking.
If you want to sightsee and do shorter hikes…
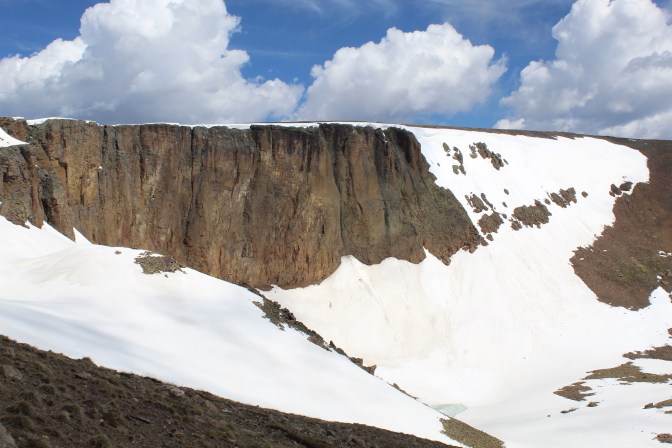
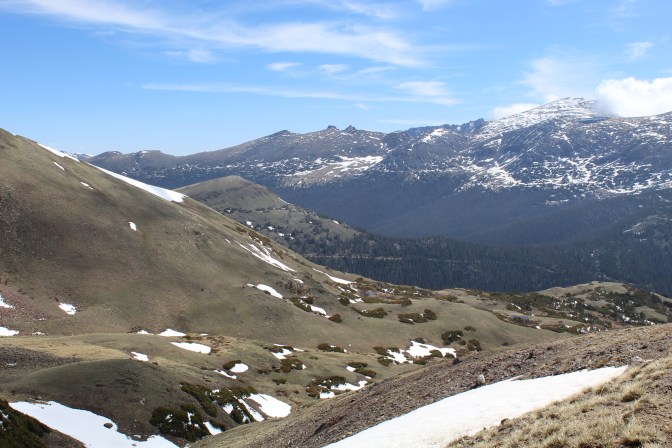
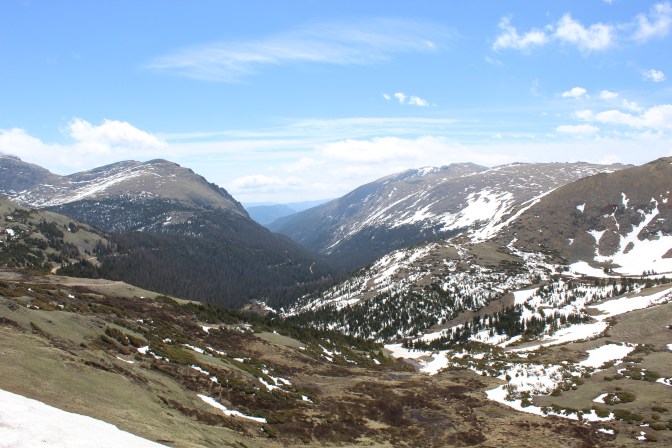
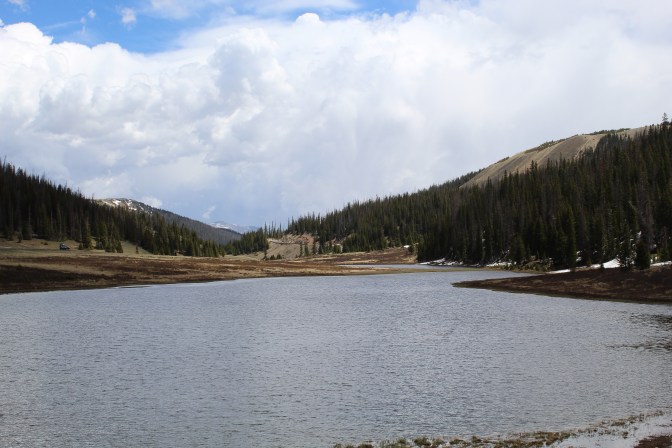
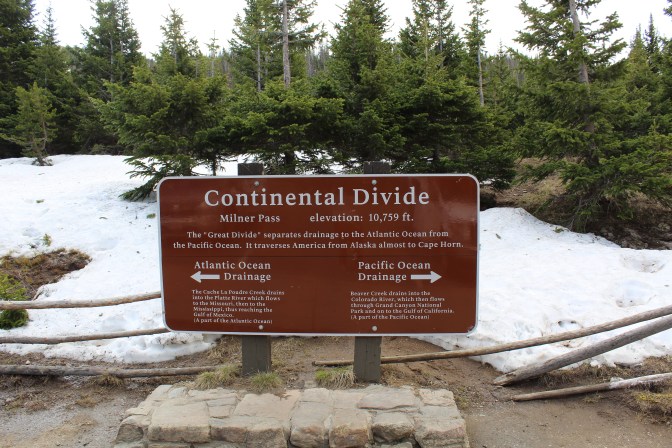
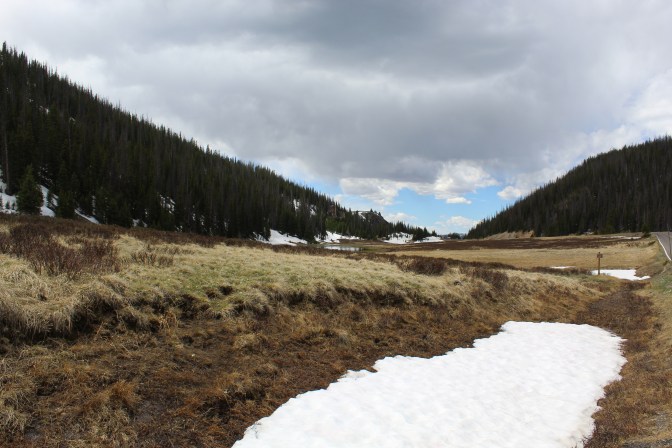
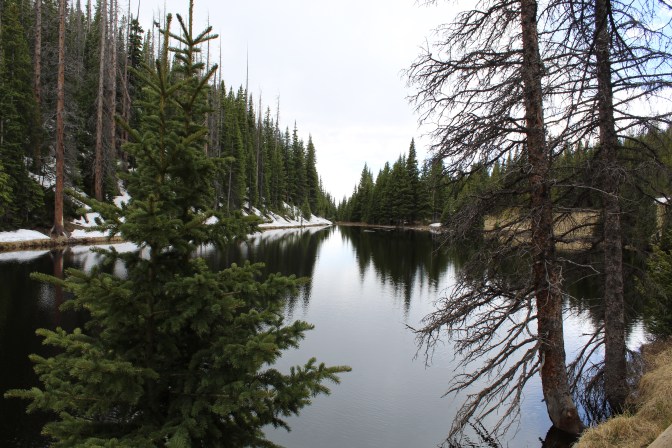
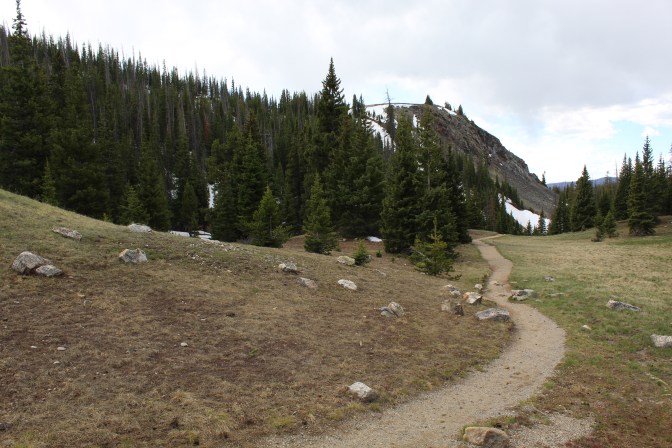
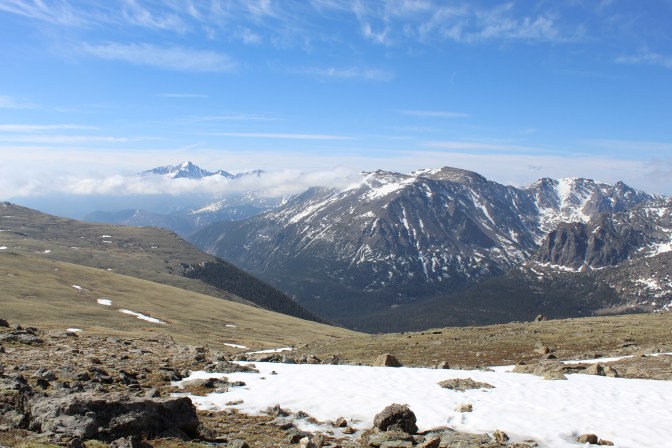
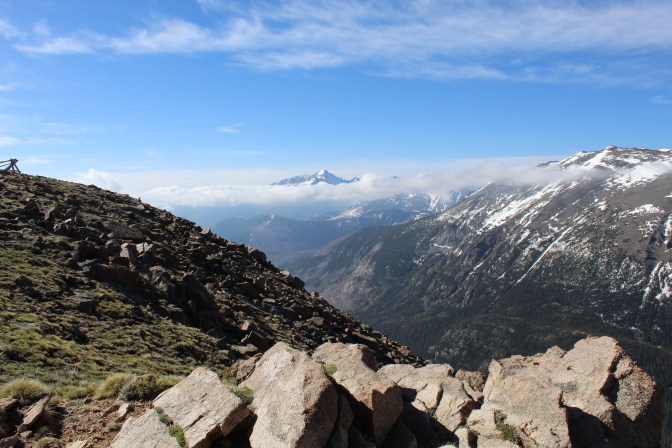
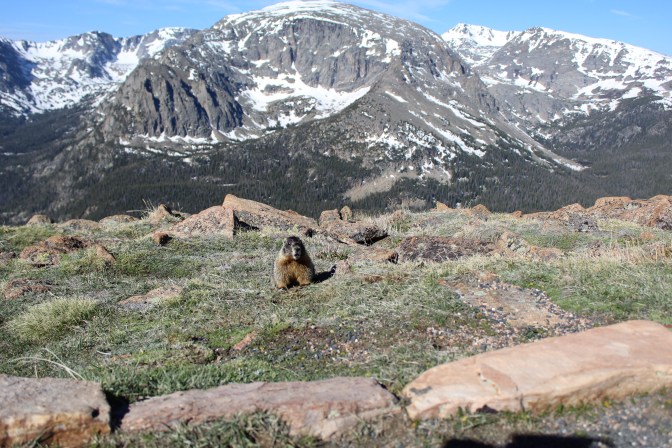
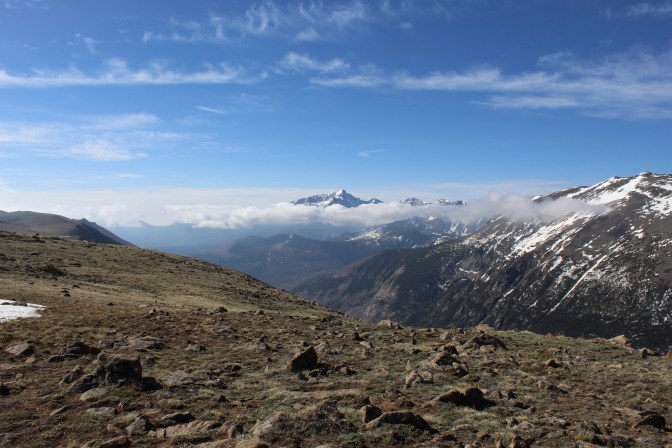
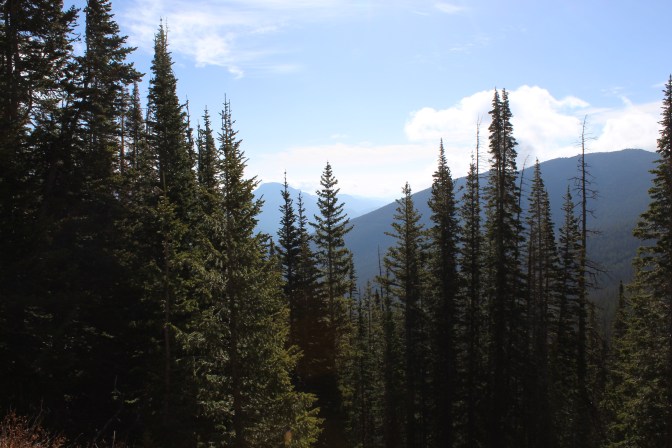
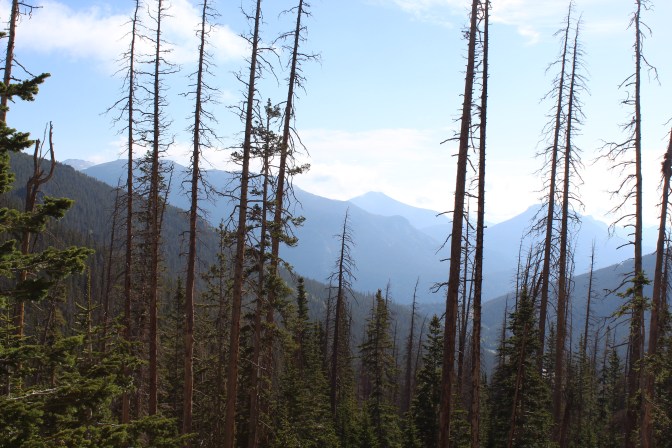
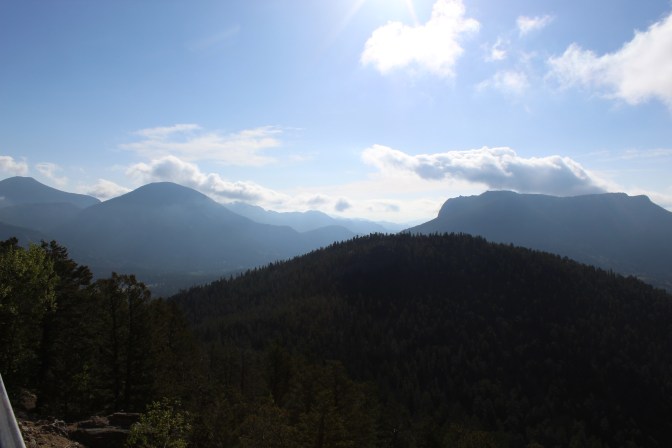
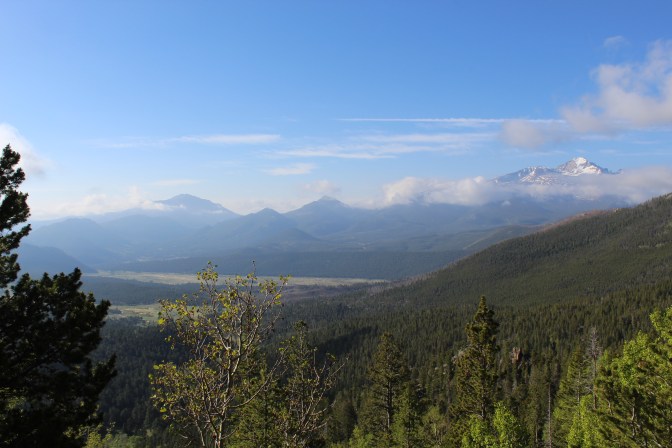
Do Trail Ridge Road
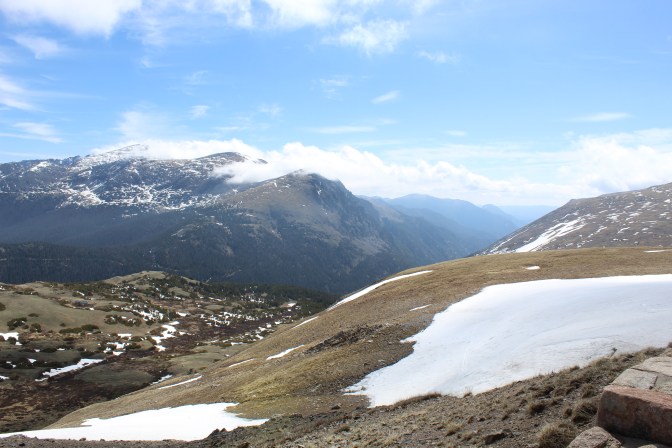
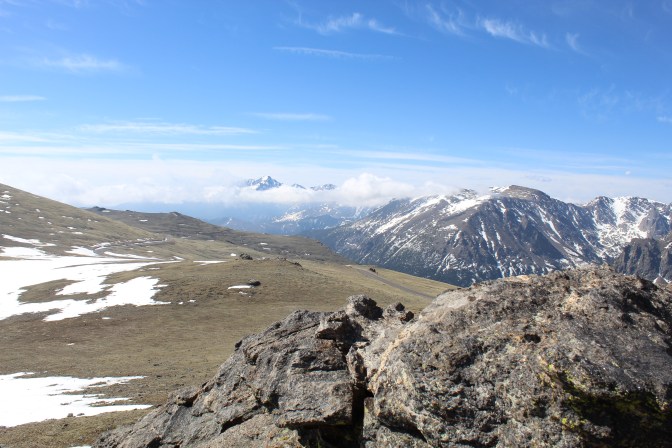
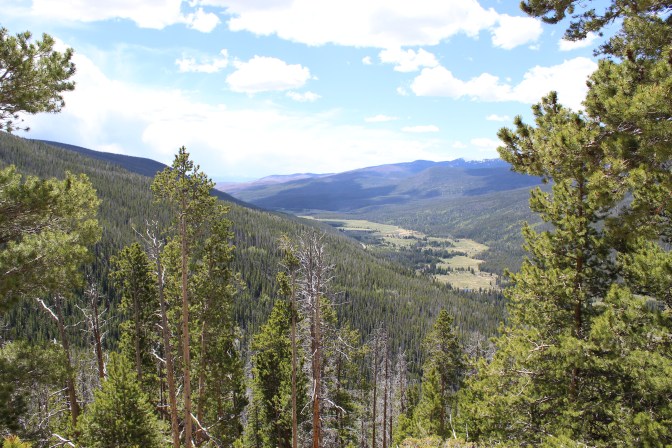
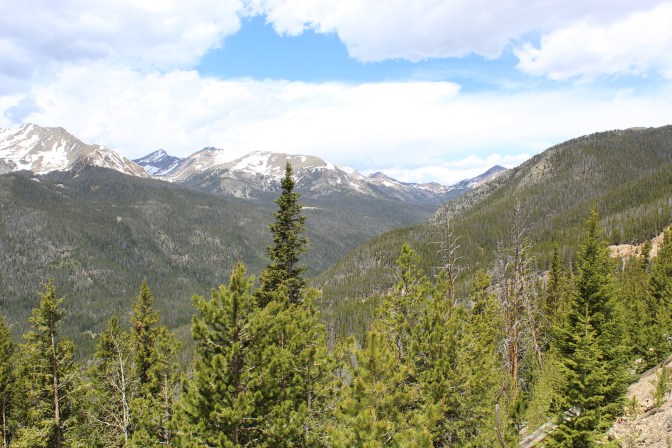
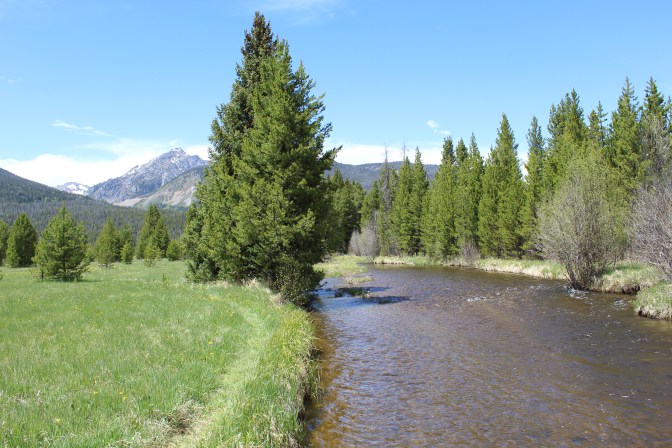
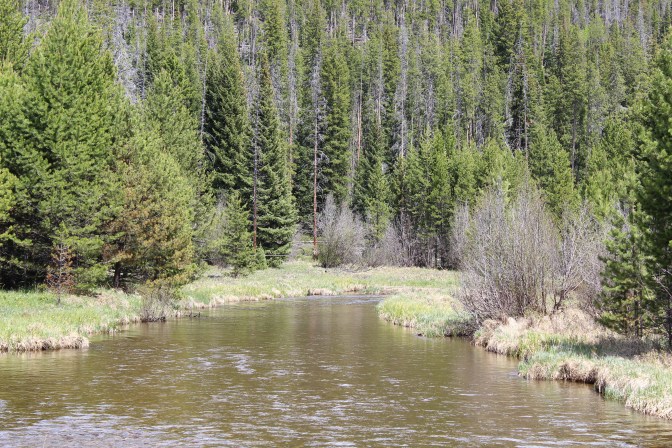
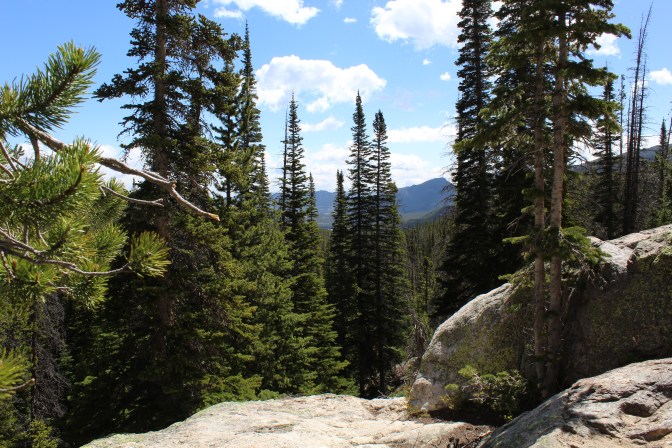
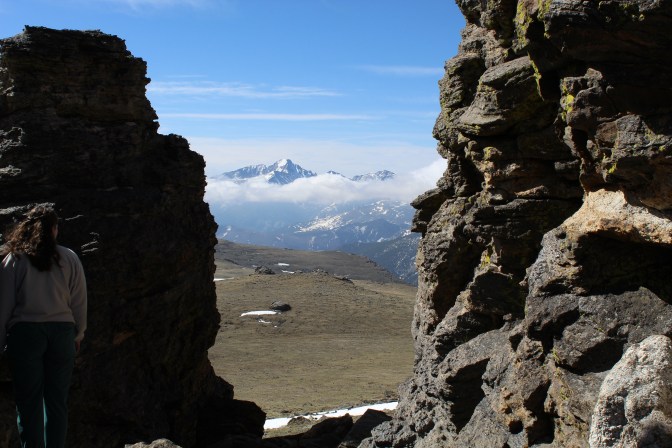
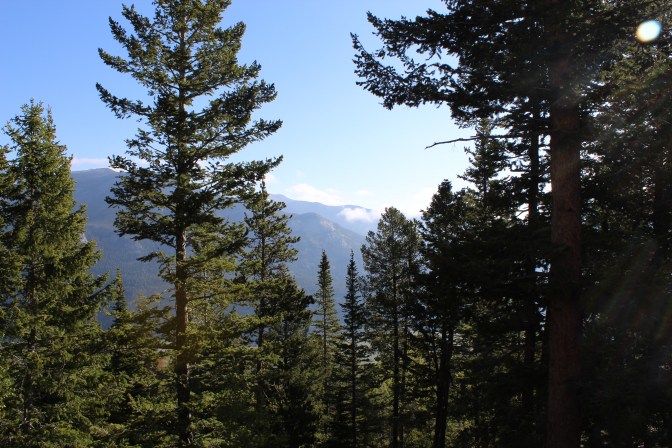
Trail Ridge Road is a drive rather than a hike, but I still managed to put on 20,000 steps and over 8 miles since there are so many stops to walk around along the way. That is the nice thing about Trail Ridge Road, you can do as much as or as little hiking as you would like. You also don’t have to do too much at a time so this is perfect for day when you may be tired or need a rest.
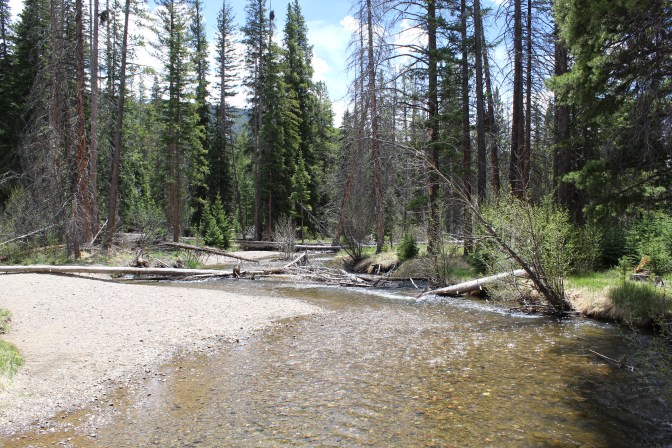
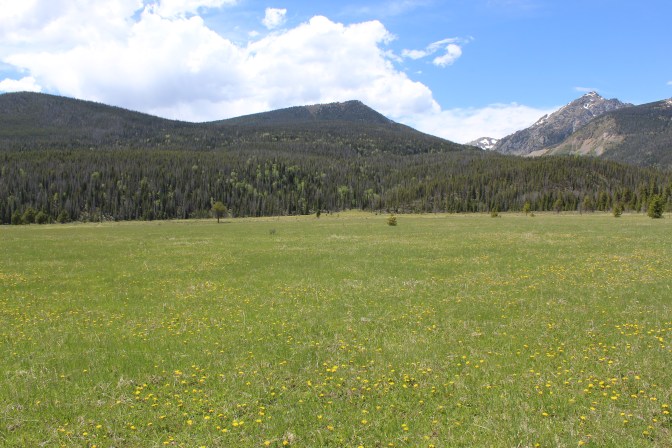
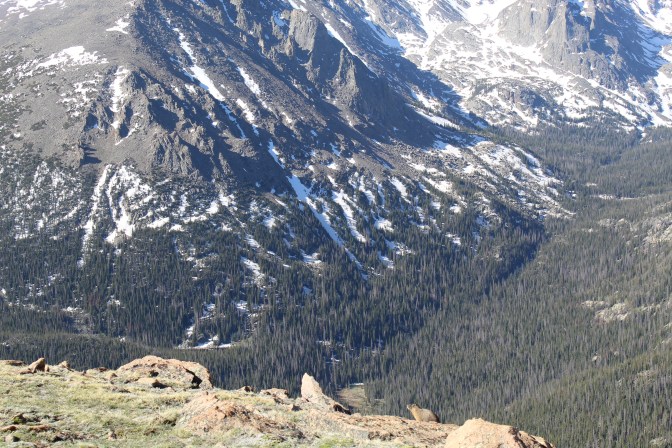
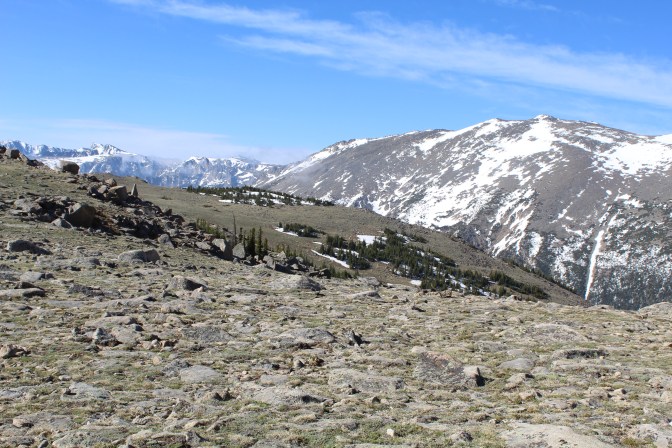
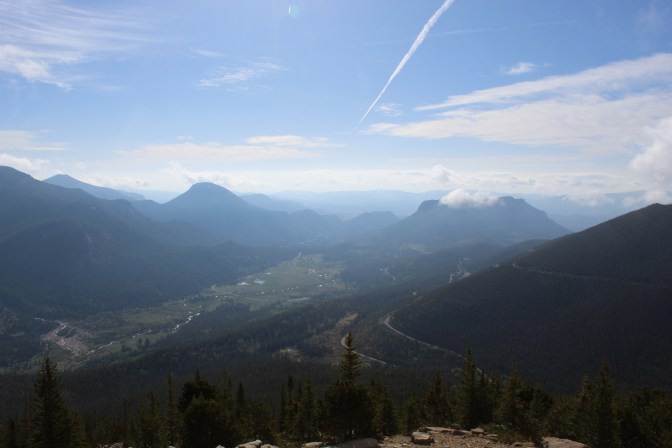
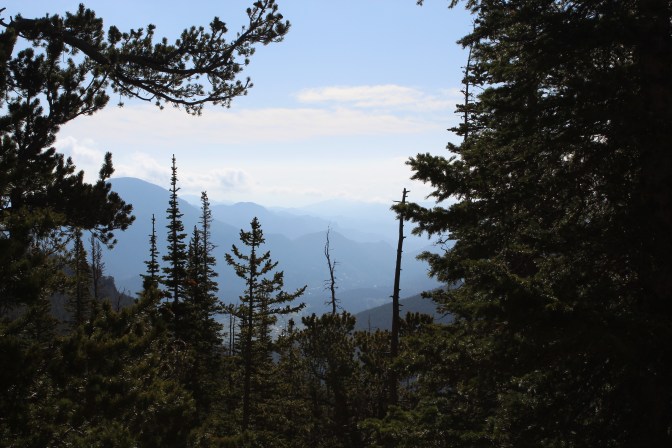
There are a lot of overlooks, especially at the beginning (when coming from Estes Park). I would highly recommend pulling over for as many as you can because these will be the best pictures you’ll get the whole trip. From here you will continue driving up into the tundra. There will be a sign to let you know you’ve made it, but you’ll also know when the green mountain turns into a snow covered dark gray rock and there are no longer any trees. When you are in the tundra you should get off at all the little trails, because it is so unique and there is so much to see. Just make sure you stay on the trail because walking on the tundra severely damages it and takes hundreds of years for it to recover from the damage. About halfway through the drive you will come across the Alpine Visitor Center. There is a really nice gift shop here as well. Then eventually you will make your way down into the Kawuneeche Valley. You will descend out of the tundra into a more meadow like terrain. You will have the option to stop at sights like the continental divides and the trailheads to see the Colorado River and Coyote valley (which I highlighted on the map). After Coyote Valley there isn’t much to see other than the Kawuneeche Visitor Center on the opposite side of the park.
The drive takes at least 1 1/2 hours without stops, so you will need to plan a whole day to do this. You are essentially seeing the entirety of the park in one day, so get comfy and make sure you are wearing good shoes, because you will be walking around. Make sure you also bring layers this day. We started early in the morning and were a little chilly at first like every morning, but then the temperature dropped about 20 degrees in the tundra and I pulled out gloves. As we got to the Kawuneeche Valley in the afternoon it got really hot. I ditched the gloves and the jacket and even got sunburned. Be prepared for anything if you decide to do Trail Ridge Road.
If you want short and sweet…
Do Bierstadt Lake
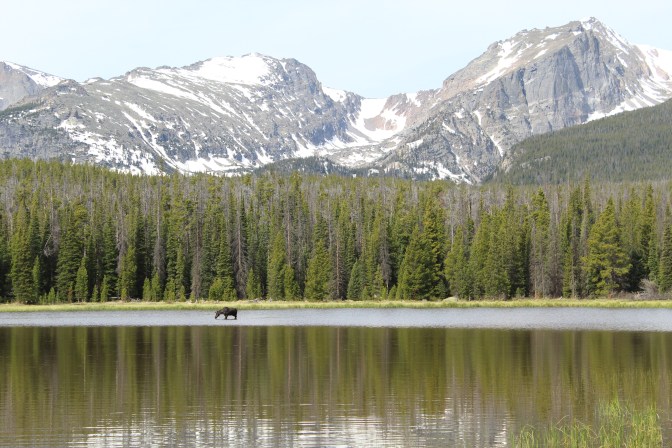
My other favorite hike from the trip was Bierstadt Lake, but unlike Fern and Cub Lake, this one was much simpler. For the first little bit of the trail you are hiking up the mountain, so there is quite a bit uphill, but its not too difficult. There are a lot of switch backs and they aren’t very steep. I hiked it the day after I busted my toe, so its not too tricky at all! At the beginning of this hike where there are a lot of trees still, we saw three moose munching in the woods, so you need to keep an eye out at all times here. Once you get up the hill you are up to the lake. The trail loops around Bierstadt so you can see the entirety of the lake. I loved Bierstadt because there was a moose wading in if when we got up there. It was literally magic and I could feel the world just completely slow down around me as all the hikers sat on rocks ashore with hardly a word said. In the distance the white topped mountains towered over the pine trees and the lake. It was a postcard picture. This was the epitome of my trip. Everything else was overshadowed by this perfect moment. We, along with many other hikers, sat here for ages. Its very calming watching nature.
Now I can’t say you will have this exact moment at Bierstadt, but I still promise you its a hike not to be missed, especially if you are a beginner that is still getting used to hiking longer distances. Unlike Fern or Cub Lake, Bierstadt is only 3.1 miles total including going up, doing the loop around the lake, and going back down. Its also great to pair with other sightseeing like Sprague Lake and the Alluvian fan, which are a few on the sights that are not along Trail Ridge Road. It might just be your own perfect day.
Also don’t miss…
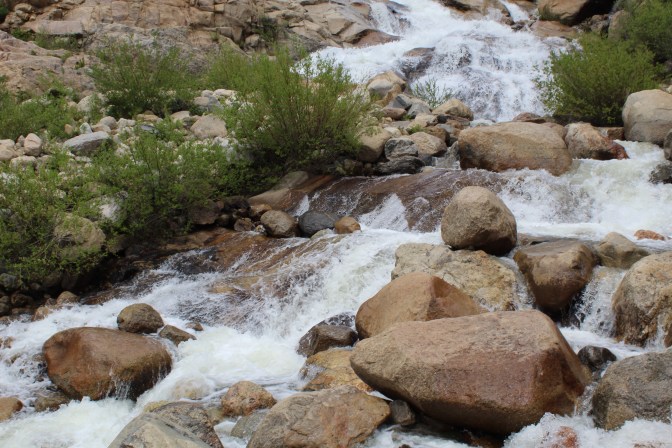
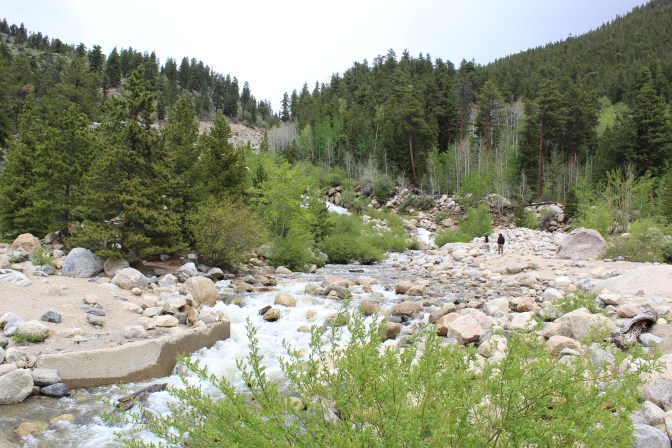
The Alluvial Fan
At Rocky Mountain National Park you will also find an alluvial fan, which is a triangular settlement of rocks due to a fast stream. This alluvial fan was caused by a damn break which erode into a little canyon and carried heavy rocks to the bottoms of the mountain. The fan within its name refers to the shape as you will see all the rocks expand outward from the canyon. The original fan was formed in 1982 due to the dam break in Lawn Lake, but has since expanded since the flood in the early 2010s. You’ll find this in the park in Endovalley. There is plenty of parking and you can walk the paved trails up to the stream where you will watch the water flow through the rocks down the mountainside. While this isn’t necessarily a hike, I feel that I should include as a stop in Rocky Mountain because you can’t leave without seeing it!
Before I conclude my little guide, I first want to share what I did each day during my week long stay at the park.
Our Rocky Mountain Itinerary
Day 1: Bear Lake Corridor= 9.1 miles
Day 2: Trail Ridge Road= 8.3 miles
Day 3: Bierstadt, Sprague Lake, Alluvian Fan, and Walk Around Lake Estes= 12.12 miles
Day 4: Cub and Fern Lake= 10.4 miles
Day 5: Lulu City= 7.1 miles
Day 6: Deer Mountain= 6 miles
I hope you find this guide to being a beginner hiker in the Rocky Mountains to be useful or at least inspiring. I think anyone can be a hiker if they set out to be. It just requires motivation and determination. At the end of the day it doesn’t matter how fast you go or how many stops you make, it all about enjoying yourself and the beautiful scenery around you. Hiking is a great way to reconnect with nature and slow life down a little bit. And that is the beauty of hiking, you get to make it all your own, because it is your adventure and your world!


